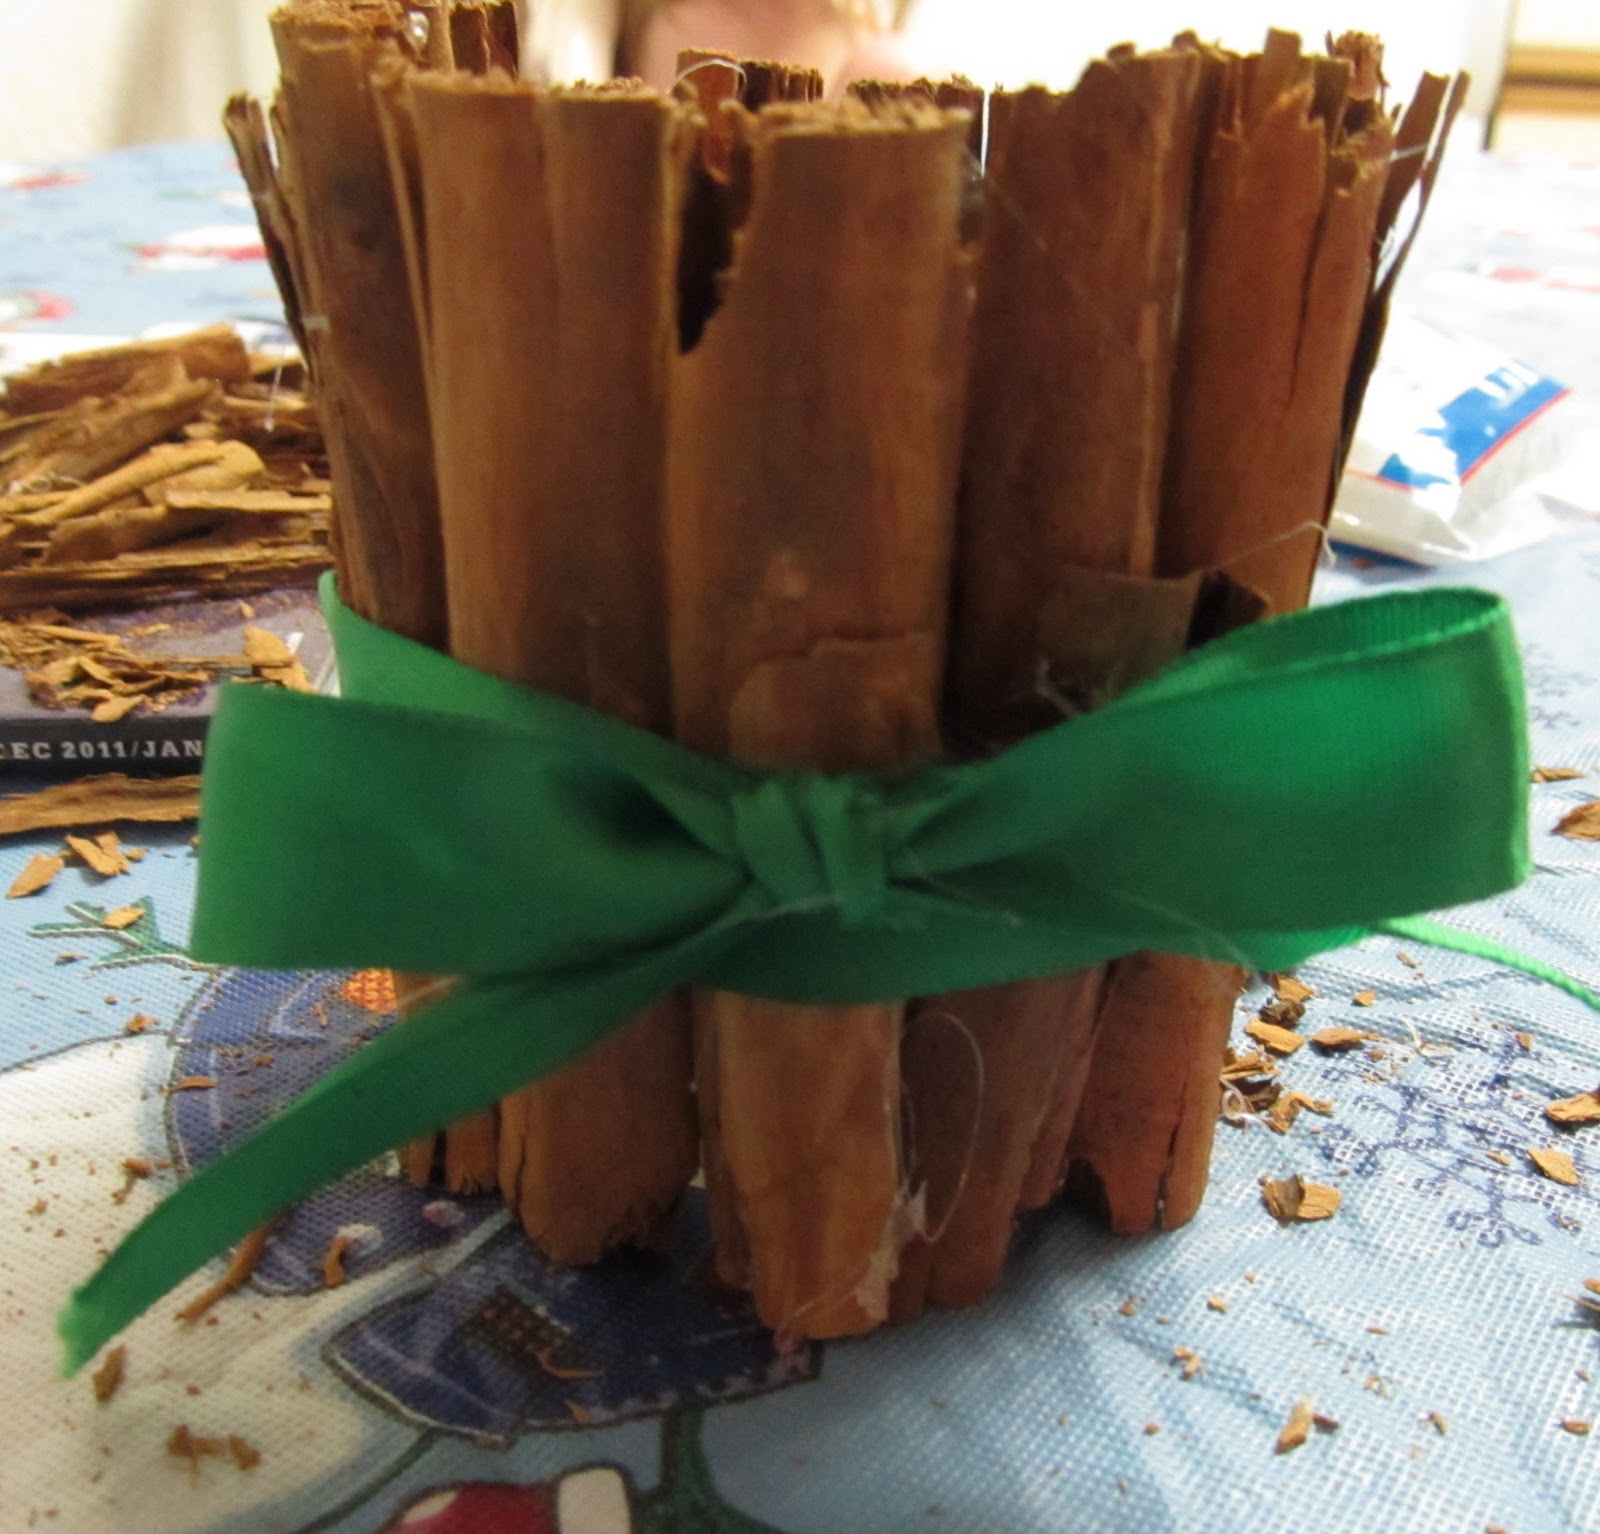
Here are my two go-to bows for decorating everything from hair accessories, to wreaths, to just for hanging on the wall.
First, grab some ribbon, wired or unwired (but wired is easier for your first few...), about 4 times as long as you wish your bow to be. Fold it into fourths to mark or you can eyeball it, and trim the ends up later. Lay your ribbon top-side-down, there should be 3 marks, splitting your ribbon in fourths. Fold the two on the ends to the middle. Glue with a tiny amount of glue. Tacky glue, or if you're very light handed, a glue gun works best.

When you turn it over, it should look like this...

Flip it back over and adjust your tails.

Holding your bow lengthwise, fold the edges to meet in the center-back.

Then back forward, gathering the center. Pinch and sparingly glue in place.
 Take a couple inches of your ribbon and fold the edges in to meet in the middle.
 Use this to cover the center of the bow. (Propping up on your glue gun is optional...)

To make an easy double bow, grab some ribbon, and fold into thirds- but not evenly. The top bow will be the smallest, using the ribbon in the middle, then a bigger bow an inch or so bigger, then the ends will be about the same as the first bow. I'm sure there is some sort of math for figuring out how much ribbon you'll need for what size bow, but this isn't the place to go if you want math. I just eyeball it.

Repeat the fold-to-the-middle like with the bow above, but repeat!

 Pinch and wrap the middle, puff your bow, and there you go!

First, grab some ribbon, wired or unwired (but wired is easier for your first few...), about 4 times as long as you wish your bow to be. Fold it into fourths to mark or you can eyeball it, and trim the ends up later. Lay your ribbon top-side-down, there should be 3 marks, splitting your ribbon in fourths. Fold the two on the ends to the middle. Glue with a tiny amount of glue. Tacky glue, or if you're very light handed, a glue gun works best.

When you turn it over, it should look like this...

Flip it back over and adjust your tails.

Holding your bow lengthwise, fold the edges to meet in the center-back.

Then back forward, gathering the center. Pinch and sparingly glue in place.


To make an easy double bow, grab some ribbon, and fold into thirds- but not evenly. The top bow will be the smallest, using the ribbon in the middle, then a bigger bow an inch or so bigger, then the ends will be about the same as the first bow. I'm sure there is some sort of math for figuring out how much ribbon you'll need for what size bow, but this isn't the place to go if you want math. I just eyeball it.

Repeat the fold-to-the-middle like with the bow above, but repeat!