Tres Leches Cake

Delicious for any occasion

Homemade Watercolors

For homeschoolers, or just fun at home

DIY Toothpaste

Great for good health, and a happy pocketbook

Vegetarian Meals for the Whole Family

Even picky kids will love these meat-less dishes

Sewing Projects and Tips

Even more tutorials to come soon

Showing posts with label Homemade Fun. Show all posts

Thursday, October 11, 2012

Cloud Dough

There's a new sensation in our house, and for the time being has replaced our much-loved homemade playdough. Cloud dough. It's mold-able, it's soft, it's interesting to feel, and it's easy to clean up! You've gotta love it when your manipulative toys are messy fun but don't linger.

We made what looks like is a "half-batch" judging by the posts on the internet- but it was just the right amount for one little four-year-old. It was crazy simple:
Mix in a large bowl or small tub-
  • Four cups of flour
  • and 1/2 cup of baby oil
We used (food grade) mineral oil because that's what we keep on hand, you need to be sure to only use baby oil or food grade mineral oil or your cloud dough will get rancid and stinky FAST. I have since bought a small bit of baby oil to make another heavenly-scented batch since EVERYONE in the house loves playing with it!

It may take a seemingly long time to work all the oil in, but you want all the flour thoroughly coated. A good 5-7 minutes of working the oil in with your hands should do the trick. We thought the finished dough felt like a fluffier "Moon Sand".

We keep ours in a lidded plastic"shoe box", and it's kept for several months. I'll be sure to smell before each playtime and toss if needed.

We also added some scent oil that smells vanilla-y, and The Princess loves to form little pies and cakes with it using my tiny tartlet molds.

Tuesday, August 14, 2012

Make Your Own Learning Games: Color Sorting and Matching Box

Whether or not you are homeschooling, many education games will keep your little ones entertained for hours. One of ours is this color sorting and matching game. And since we've found boxes that the egg-carton base fits in, it's just gotten better ;-)

You can either start with a 1 1/2 dozen carton- cut in half, or cut down a bigger 2+ flat into a 3x3 square.

I used to keep my egg-carton games (I have more I'll be sharing...) in gallon zipper bags, but I recently discovered that they fit PERFECTLY into the Twinings' 50-count boxes. I knew I saved them for a reason!

What your egg-cartons are made of will determine what you use to paint your wells with. I used old-ish nail polish fine in these cardboard ones. But that will eat Styrofoam ones, so use plain ol' craft paint.

Randomly paint the bottoms of each well with one color. Here I have white, , pink, orange, red, yellow, purple (looks blue on here!), blue, green, and black. I've used brown before when we've had trouble finding little black items to sort.


Next, gather items to sort. If you have really small ones, be very careful in case they get into and mouth the preschooler's game!
We have pompoms, beads, bits of ribbon, little erasers, etc. We were still gathering when this picture was taken and later for black we also added a lego, a tiny tire, small checker piece. (Just to give you ideas!)

We put them in a snack-sized baggie, and it fits perfectly in the box too. You can also add for extra manipulation activities, large tweezers or a clothespin to pick up items &/or a plastic spoon for scooping.
Little ones love this game because they can "play" it however they want! Any way to meet the objective of sorting the object into their colored wells works!


Tuesday, March 20, 2012

Let's ALL Try This!: Easiest Colored Rice


Colored rice is one of our favorite things around here for homeschool use. We play in it, we use it glued to paper like glitter, we shake it around, it's a great tool.

My long-time friend Shannon just started a blog (yay!) and she posted a great, EASY way to color rice...USING your little preschoolers! So smart! So, go check it out. =-)


Monday, January 2, 2012

Homemade Fun: Watercolors

She CAN blend!
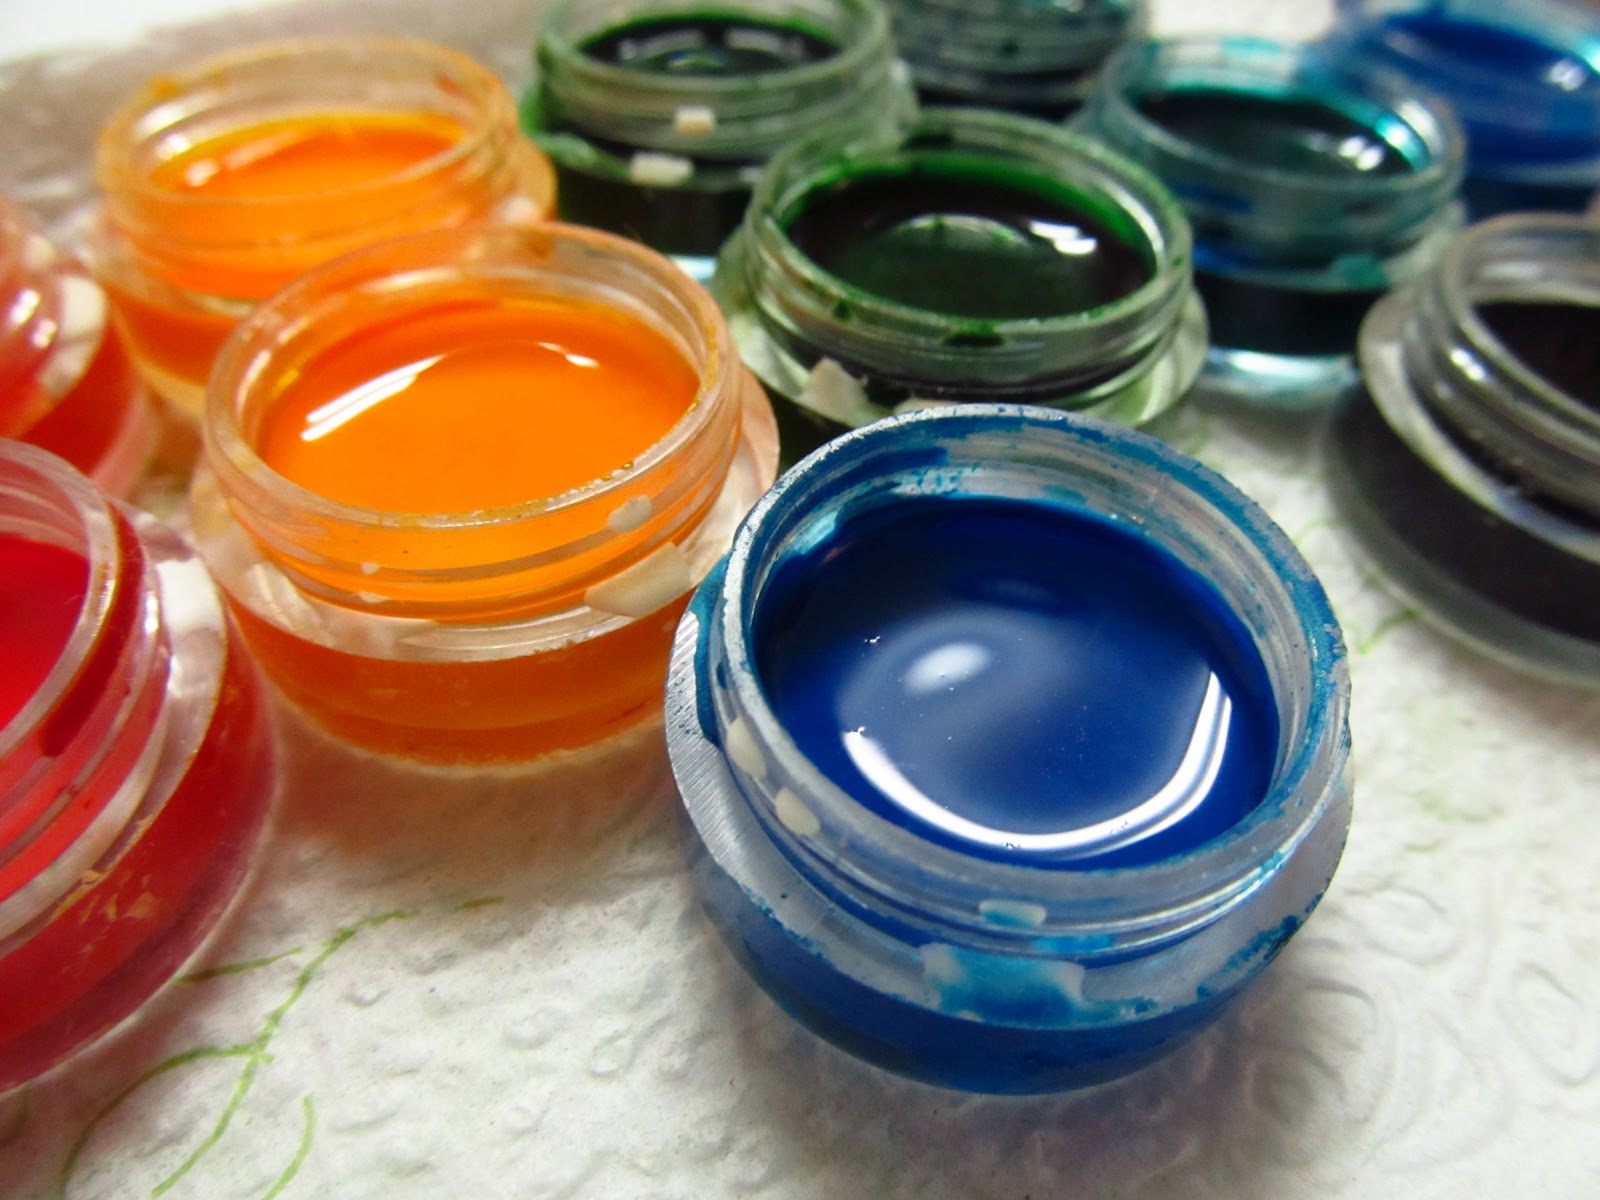
Lately out little artist has fallen in love with watercolor painting. So, naturally, I googled to see if there was a way to make our own! TONS and TONS of hits. The most repeated recipe seems to be this one:

  • 3 Tablespoons of baking soda
  • 3 Tablespoons of corn starch
  • 1 1/2 teaspoons corn syrup
  • 3 Tablespoons white vinegar
  • Several drops of food coloring for each color made
Mix all but the coloring together. Wait for the fizzing to stop, and stir thoroughly. Poor into your chosen containers. I saw everything from ice cube trays, to plastic baby food cups, and craft-store mixing pallets. I chose to re-purpose some little jars I have washed for re-use that are from mineral make up I previously pressed into pallets. I've got several uses for these I'll be sharing as I remember to photograph them!

Next, have a little fun mixing in your colors. I noticed as mine dried that I should have taken into consideration that my containers were smaller than most others...and my extra drops of color rose to the top and impeded drying. I panicked for a quick moment, then ran and grabbed a few cotton balls. I barely touched them to the excess, and the wicked it right up! WHEW!

Let dry overnight, and enjoy.


And they even have handy lids! =-)

Thursday, December 1, 2011

Holidays on a Budget: Cinnamon Ornaments

Cinnamon ornaments are a classic Christmas activity. We've all made them in school, and I love making them at home. They fill the whole house with a seasonal scent even while kids are rolling and cutting out their precious works of art. If you use an oven to dry them out, even better!

To make the dough, start with a hefty amount of cinnamon. The 2 for $1.00 jars work great ;-)
Mix in spoonfuls of apple sauce until the dough is smooth, and thick enough to hold its shape. It should be a but firmer than cookie dough, kind of like pie dough.


Roll your dough out to 1/4 inch thick, and cut with cookie cutters.
Some helpful tips:
  • Dust with cinnamon to roll out, especially if a little sticky. Flour will lighten your ornaments/leave weird spots.
  • Lay down as many cutters as you can/will fit. Then use a spatula to help you transfer them to a cookie sheet to dry. This helps them keep their shape. 

  • Too thick and they will take years to dry, too thin and they'll break like nothing. 1/4 inch seems to be just right. 
  • You can dry in a VERY mild oven (lowest setting, or until your oven on light pops on), or air dry for a couple days.
  • If poking a hole in the top to hang, remember to do it before they start to dry! 
  • Even though gingerpeople are the common shape for these because of their color and scent, other shapes are super cute too. We like stars too.
 Let dry in the manner you prefer. Turn as needed, but try not to handle TOO much.
Decorate with white puffy paint "icing".

 We like to glue our hangers on the back, rather than a ribbon through a hole. Both wire hangers and ribbons work nicely.


Thursday, August 18, 2011

Homemade Fun: Finger Paint

Yellow looks orange in the jar- but it's not!
Perfectly thick and glossy finger paints are easier to make at home than you may think.

In a medium sauce pan, heat over medium heat-
2 cups of water
1/4 cup of cornstarch
Stir or whisk constantly.

Remove from the heat immediately, and let cool until just warmed. (The food coloring spreads and mixes easier if it is still a little warm, but you can totally let it cool all the way without worries...)

Pour into separate containers with lids. Stir in several drops of food coloring. I chose to just make the primary colors so we can work on mixing colors. Let cool completely before using.


Saturday, July 16, 2011

Homemade Fun: Bubbles

Into a 64oz container, (I used an empty dish-soap bottle), add:
  • 1 cup dish-soap. (The handwashing kind, not the machine kind.)
  • 2 tablespoons glycerine or corn syrup. (I used glycerine.)
  • a couple drops of food coloring if your wish. Be careful if using indoors! (I added a couple to make my bubble not look like my dish-soap.)
  • Then fill with water and gently swirl to mix.
It works better if you let it sit with the lid popped open for a few days.

Sunday, June 26, 2011

Homemade Fun: Play Dough

Summer! We all need activities to keep the kids busy when we're this far into summer vacation. Here is the first of a few homemade supplies/activities to keep us going.
This play dough recipe is the EASIEST. And to make things even easier, I used the steaming hot water I keep on hand for tea, so my oldest can make this for the littler ones!

You will need:
  • 1 C flour
  • 1/2 C salt
  • 1 pack of flavored drink mix (the kind without sugar!)
Mix these thoroughly into a large bowl. Then add:
  • 3 Tablespoons oil
  • 1 C boiling water
Mix and mix until your dough forms a ball and begins to cool. When  cool enough to handle, knead until cool and cohesive. 
    
Strawberry makes the prettiest pink!
Keep in a zippered plastic bag or plastic container.