Tres Leches Cake

Delicious for any occasion

Homemade Watercolors

For homeschoolers, or just fun at home

DIY Toothpaste

Great for good health, and a happy pocketbook

Vegetarian Meals for the Whole Family

Even picky kids will love these meat-less dishes

Sewing Projects and Tips

Even more tutorials to come soon

Showing posts with label Sponsored. Show all posts

Saturday, February 22, 2014

To Market To Market- It's About Thyme!

Here's the second installation of my To Market To Market tries/reviews. The first can be found here. I really did a lot with this packet of It's About Thyme!, I made a cheese spread as suggested, and so much more.


I made the cheese ball recipe, scaled down to a household size of course, and it was delicious. Fair warning, this blend is QUITE garlicky, even after mellowing in the fridge for a bit. HOWEVER, they do give a recipe for a softer-flavored mix on the pack as well. We love garlic, so we went with the stronger one and it was soooo good!

I had all the ingredients on hand, but not everyone has Feta cheese at all times. We make a lot of Mediterranean salads. We just mixed together:

It was super simple, and although it calls for whipping it up in a food processor, I just did it by hand and everything mixed smoothly. (Warm Feta still smooshes into the mixture well.) Then we just let it sit, covered, in the fridge for a few hours. (The directions say at least 3 hours, but we also ate some after being in there overnight.)

I also made a bit of the herb-butter listed on the pack, SO easy to just add the blend to taste in some softened butter. I served it with some warm, fresh rolls and it got promptly gobbled right up. 

I also tried it as a seasoning, rather than in a recipe. I had made some Broccoli-Kale Chowder that it was delicious in, as well as just sprinkling it on some baked chicken. 

Although this blend makes a wonderful cheese ball/spread and a fantastic herb-butter,  it is its versatility that really makes it shine. What other products can you find that are so adaptable? 

You can find To Market To Market online, and on Facebook if you'd like to find out more, or check out other products. 

Disclaimer:
I did receive product to try and talk about, but I did not receive ANY other compensation. I also was not told, or suggested to, what to say and ALL opinions are MY own. 

Wednesday, February 19, 2014

To Market To Market- Popeye's Passion

I was recently lucky enough to get to try a couple things from To Market To Market, and couldn't wait to share them with you! I'm going to split my post into two, so each item can get its own time to shine. (Edit to add, the second post can be found here.)

So, today's yummy yummy treat was Popeye's Passion. Upon reading the back of the pack, I saw it made FOUR cups of dip, enough for a party. But, seeing as I'm not one to party, I decided to pare it down a bit. I also wanted to take this opportunity to healthy-up the dip. VERY easy to do when it's a mix, so much better than buying a dip from the store you have no control over its ingredients.

The suggested recipe on Popeye's Passion calls for 1 1/2 cups of sour cream, and 1 1/2 cups of mayo. I decided to go with plain yogurt as my base. It covers all that's needed to replace the sour cream and mayo, tang, creaminess, and dippability. (I'm gonna make that a word, ok?)

Since the pack said it makes 4 cups of dip with that 3 cups of base and the pack, I figured 1/3 of the pack and 1 cup of yogurt would make a nice, manageable amount for my un-party. I made sure to empty the pack into a jar and shook it VERY VERY well, to keep the ingredients evenly mixed. I didn't want to mess up the ratio of the recipe. I used an old yeast jar that I save for things like spices and stuff that come in packs. The amber-colored glass helps keep light out, and they close quite tightly to keep things fresher, longer.

Mixed together, and let sit covered in the fridge for 3 hours (at least) as suggested.

Wow, it came out AMAZING. To be honest, I wasn't expecting the spinach to be enough, I am a big spinach lover... but the yogurt re-hydrated it, and there was plenty. 

There is also bit of other veggies in there, looks like some carrots maybe, and they gave it a great flavor. It was also well seasoned. None of the overly-salty, or almost chemical-ish flavor a lot of packages dips and seasonings have. I used mine for vegetables, but it would be great on almost anything. I think I'm going to get some pita chips for the next batch. I might even experiment some with additions, make it my own. 

You can find To Market To Market online, and on Facebook if you'd like to find out more, or check out other products. 

Disclaimer:
I did receive product to try and talk about, but I did not receive ANY other compensation. I also was not told, or suggested to, what to say and ALL opinions are MY own. 

Friday, January 10, 2014

Influenster Violet VoxBox

Between Winter Break and major life changes in the Disheveled house, I'm a little behind on some things. Blogging being one of them, and by default- reviewing my awesome "VoxBox" sent to me by the good people at Influenster.

So, without further delay, the good (very good!), the bad (unfortunately), and the ugly (my neglected cuticles.)


Let's start with the bad. Let's get it out of the way. Soyjoy. I am very disappointed in you. The picture on the wrapper looked tasty, the brand Soyjoy proudly displayed, promising me a quick and yummy mommy-breakfast on one of our busiest days. 

One of these things was not like the other. & it was VERY dry (I even dipped it in my coffee!) and very not-dark-cherry-chocolate flavored. At least I had my coffee. & the rest of the VoxBox.

The rest of the products were pretty straight-forward and met my expectations.

The mask from Montagne Jeuness was weird at first, I'd never used a clay mask that was A MASK before. The fabric to it was sturdy, but easy to apply. It smelled heavenly. Fruity, but not sweet- like real fruit even. It left my face soft and didn't break me out. I can't seem to find the pictures of the mask, but that's probably better for you ;)

Some of the boxes got a Goody Quickstyle brush, and some a Goody Athletique Headband. I received the headband. In grey! Perfect! Not much to show, but I can tell you it was super comfy, slipped very little, and the adjustable feature was something I didn't know I needed. It whisked away sweat, even while bouncing away on the wii Fit, and didn't get moist and stinky itself.

I also received the Not Your Mother's Clean Freak Refreshing Dry Shampoo. Which is a mouthful. But not a handful. Even though I'd never used a dry shampoo before (which is weird b/c I am a no/low poo-er, right!?) I found it very easy to use, didn't seem dusty or overly powdery at all. The really-gotta-brush-the-hell-outta-it-or-you'll-be-grey feature of dry shampoos is why I hadn't tried them before. I am very glad this one left me with a good impression. Plus it smells great! Not really there....but clean.

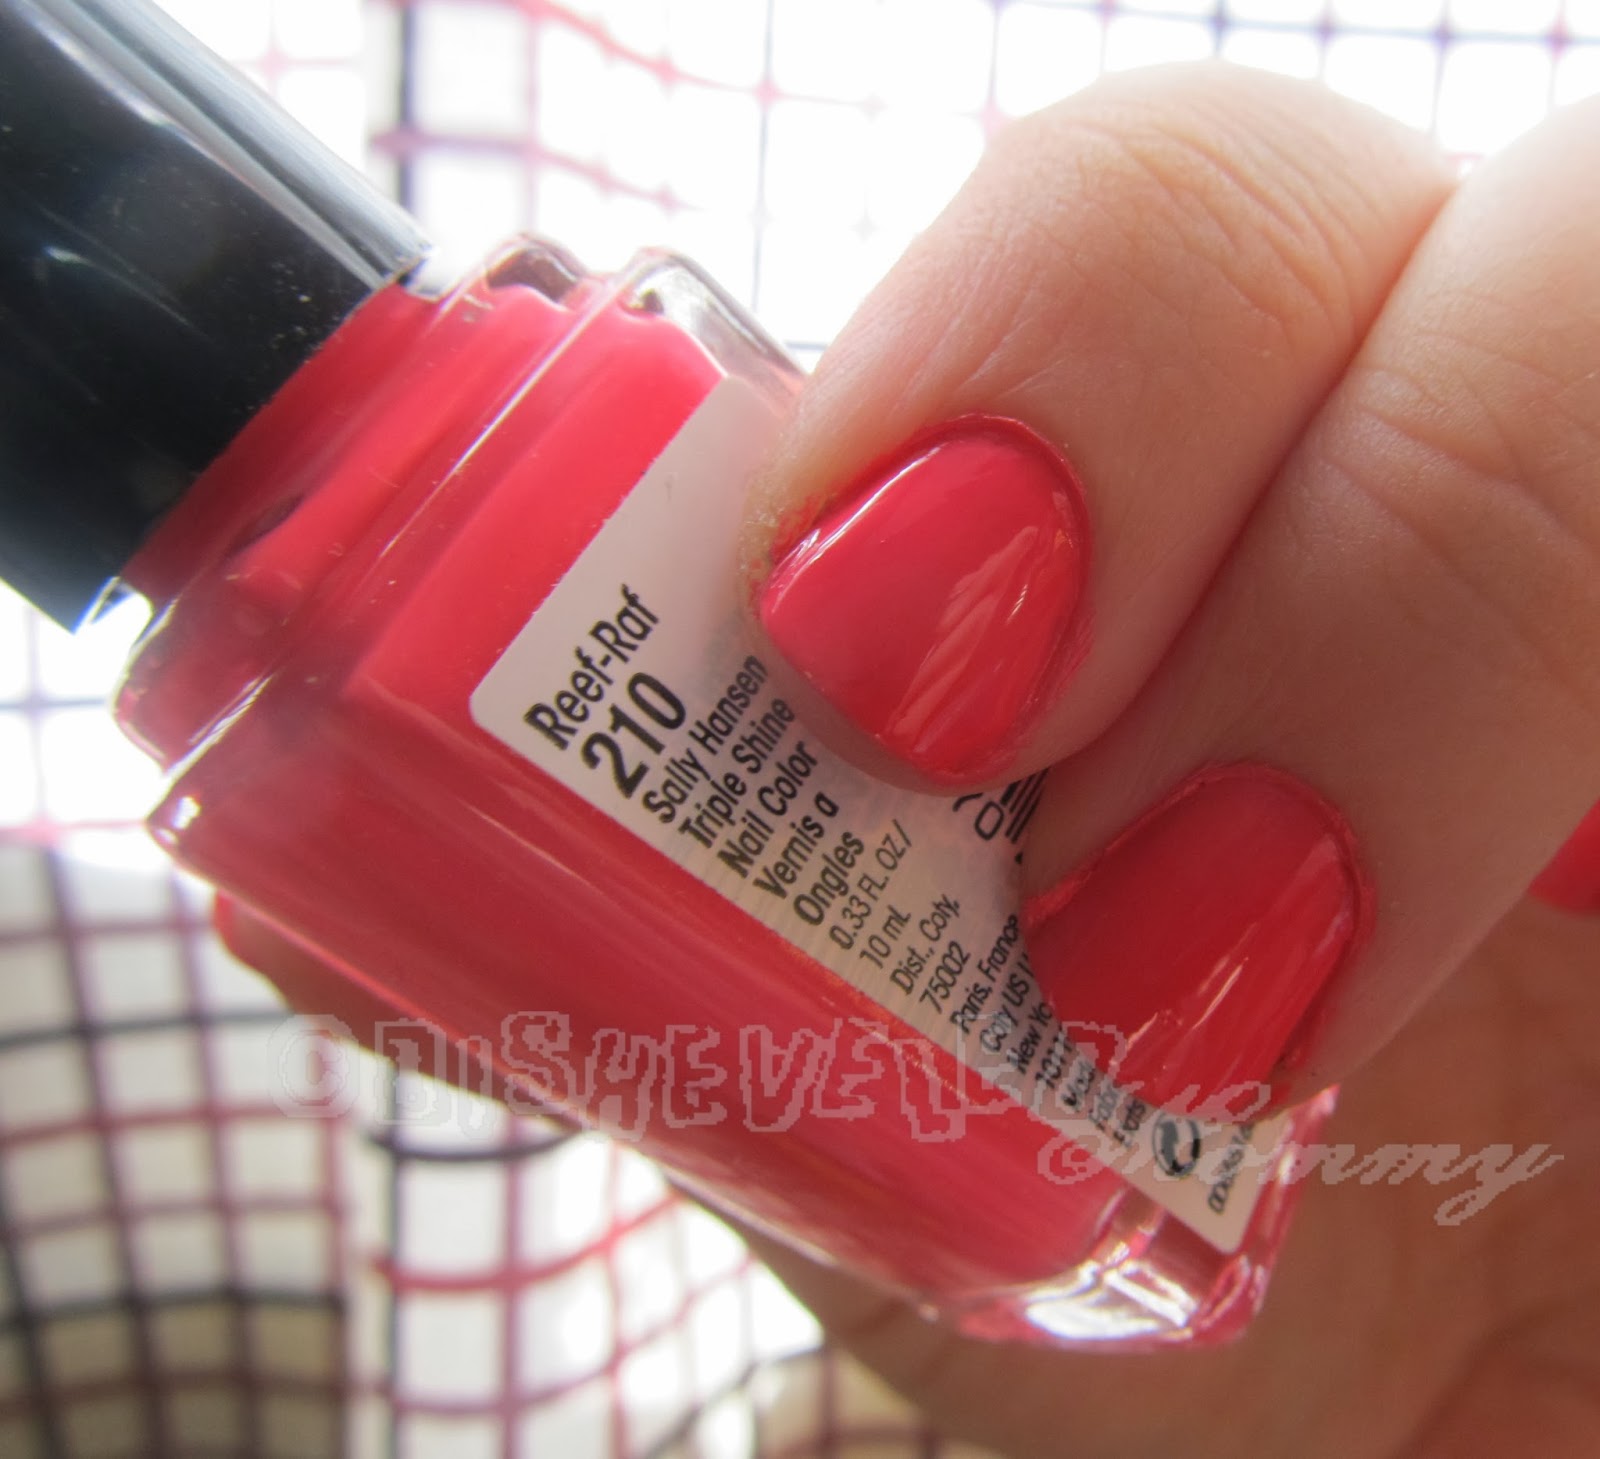
And finally, the Sally Hansen Triple Shine polish. It took me foreeeever to get a chance to try it, kids and all. And when I finally did I didn't get to sit down and do the whole pampering thing, so excuse my HORRIBLE cuticle care. It is temporary, I promise.

But on the bright side, the polish was thick and smooth enough to apply quickly given my lack of time. Just a couple coats and I was done. I didn't even to a white base-coat like I usually do with bright colors, it just popped on its own! It may be weird, but I do have to say I really liked the brush on this product. It was a touch bit wider than normal, the teensiest bit tapered. (Even if my spell-check is yelling at me that teensiest isn't a word- whatever...) and a bit flat. It applied beautifully. I may just go and buy all the colors because I love the feel of the brush so much!


So, a quick reminder/disclaimer:
Yes, I was sent the VoxBox for fun & review, but all the opinions are strictly mine and mine alone. (Sorry SoyJoy :( ) I received no payment for my participation in the program, other than the products themselves.

Saturday, October 27, 2012

Burt's Bees Intense Hydration...Day One

From time to time, you may see posts from me about BzzAgent kits. I LOVE being a BzzAgent. Not only are the freebies fantastic- but the opportunity to share so much about new products is amazing.

I just received my Bzzkit for the Burt's Bees Intense Hydration Campaign.
They asked us this time for a "before" photo to help document our skin journey. I feel like I should just warn you....my camera took amazing macro photos, you can really see the flakiness. You can also, unfortunately, see my super huge, gross pores. Ugh.
So... here is my "before" photo. You may have to click it to see it full size to see the dryness. You can still see plenty of the redness and dryness. 
 Here's day one. I can't wait to see what the Burt's Bees Intense Hydration products do!

Monday, August 6, 2012

How I Make My Pillowcase Dresses

There are probably 1001 ways to make pillowcase dresses, and everyone has their favorite. This is the way I make mine for several reasons:
  • -I like the way it looks.
  • -Sometimes I don't have matching ribbon or want the straps to be from the same fabric- this is adaptable for it.
  • -I can also use bias tape for the straps.
  • -The straps can be tied to fit a growing child, you're not limited to the size it's first made like the dresses that use the ribbon to gather AND become straps. (I always worry about those getting tangled around the neck as well.) So it can be worn for many years- even as a shirt much later!

(click any pic to see larger)

First, find a spiffy pillowcase. I also use rectangles of fabric that I like. Measure how long you'll want the dress, and mark. Here's a tip for active little ones- also have them bend over when you're holding the pillowcase up to them so check length. Check and be SURE the finished dress will cover little panties! Adjust as needed. I chopped off quite a bit of this case for my four-year-old.
Now, turn inside-out and fold in half. I like to do it inside-out so I can mark my line with whatever I can find. ;-) Make a mark TWO inches from the edge. (NOT the folded edge, the one where both sides meet.) Make one FOUR inches down. Connect these marks with a J-shaped line. Cut out. This arm-hole size will fit any size because you'll adjust with the ties/straps.
Now, we'll start to iron and hem up that top. Fold down one of the layers about 1/4 inch. Press.
Fold down about an inch (you can get away with a little less if using thinner elastic, but I like how an inch looks.) Press again.
Repeat for the other side.
Now that you have nice and tidy edges, sew the top to hold the elastic. Use the left side of your foot to keep it lined up.
This'll keep your line neat and straight. Don't forget to back-stitch a couple stitches in the beginning and the end to keep your work from coming undone. Don't mind the excess on the edges, they'll be covered in just a bit. (Let's also pretend like I used dark thread to show you the stitching...I actually ran out of everything else and wanted to finish the project!)
Next, insert and sew in some elastic (3/4 inch seems just perfect) using this method here. Six to seven inches will work fine. Just enough to make that gathered top, and cover chests. No worries if your securely attaching is a little messy, it will be covered up.
  Now- here is where you will adapt from my basic way if using thinner ribbon for ties that will need to be threaded into the arms. (My other ways finish the arm-hole edges without hemming them.) You'll want to turn in, and press a half-inch hem. Fold down about a quarter inch on the ends so they will get tucked in as you sew it into a casing. Sew each arm so that it become a tube (attached to the dress) with two open ends. Then you thread the ribbons in, about a yard each, fray-check the edges and you're done.

Using bias tape is about the same as making straps from the case's fabric, with the exception of sewing the straps together.Here is how I make my straps:

Take the extra bit you cut off, cut off one of the side (short end) seams (often there is only one!) and the top seam. Cut in half lengthwise.
 Fold lengthwise, and sew into a loooooong tube. Leave one end open for turning right-side out. I like to taper my ends like so:
I back-stitch when I turn a corner for a little extra insurance. Then I trim a bit before I turn right-side out.

You can either sew shut the open end after turning, or use a bit of stitch-witchery.
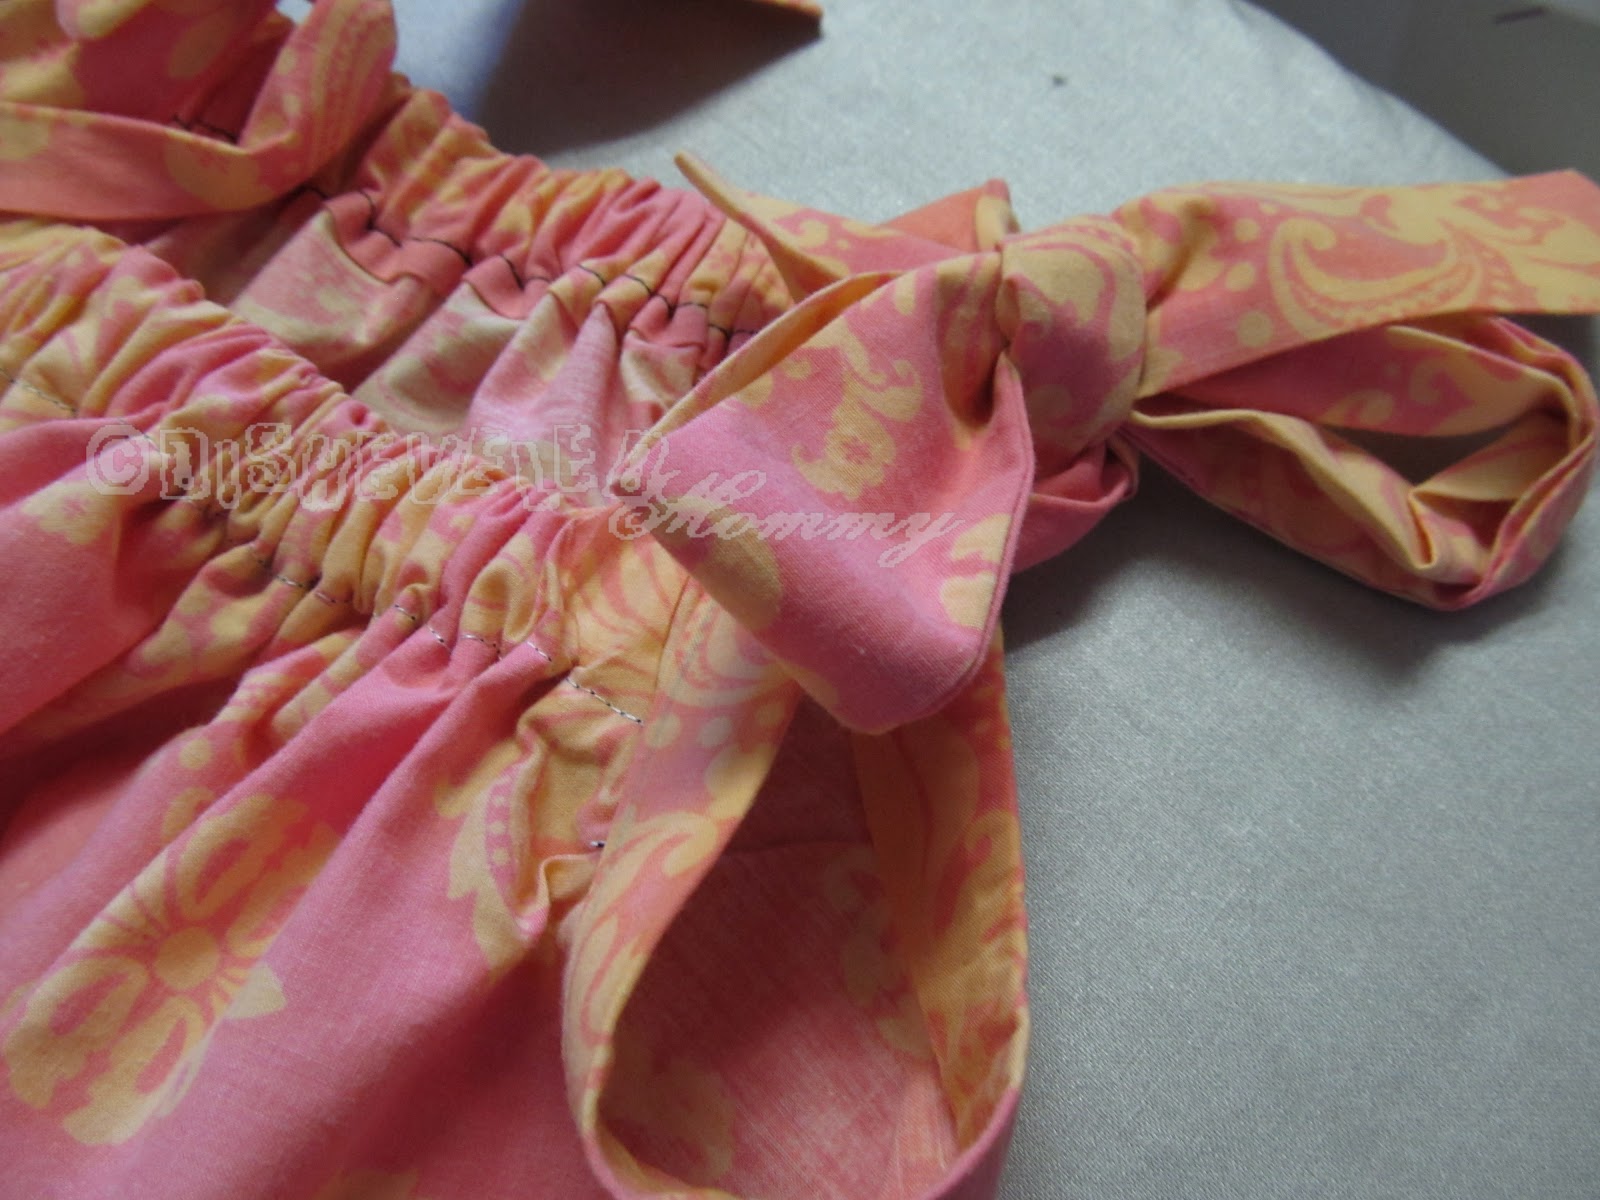
Attaching the straps is made MUCH easier if you crease/press the middle of the straps the length of the arm-holes in half. Line up the center of the strap with the center seam of the arms, folding over the rough edge of them. This is also how you'd attach bias tape straps! Sew them from top edge to top edge, and voila! (Here I used some stitch-witchery too, my thread was TOO dark for these nice finished edges, but I may go back and stitch them up as well.)
I LOVE the way the fabric straps/ties look.


Wednesday, May 30, 2012

A Deal to Share with You


 I've been using SneekPeeq to check out deals, and even got a super cute pearl ring for FREE. They've sent me this deal to share with you all, a gorgeous maxi dress for $34-shipped. I'm too short to wear maxis without hemming...but these look worth the extra time! =-)


Nothing says Summer is here more than a beautiful MAXI DRESS!  No one makes
them softer and more flowing than Colorfast Apparel.  We love the MahaloTriblend Jersey Maxi in colors such as bluebird or safari!  A MUST HAVE AT
70% OFF!  These dresses retail for $103, but your price is only $34!  SHIPSFREE! 

Monday, May 7, 2012

Roast Chickpeas For Snacking and Salads (Using Filippo Bario)

As you might be able to tell, we love chickpeas here. A (long) while back I posted a picture of some roasted chickpeas on our Facebook page, and since I'm currently doing a BzzAgent campaign for DELICIOUS olive oil, I figured I'd show you all how I make them. =-)

Preheat your oven to 425. Line a large baking sheet with foil or parchment paper. Drizzle lightly with olive oil.

Drain and pat dry 1 can of chickpeas (garbanzo beans) or have about 1 1/2-2 cups of home-cooked. Pat dry. Lay out on your baking sheet in a single layer. Drizzle with another tablespoon or so of olive oil. Shake pan, or stir to evenly coat. Sprinkle liberally with kosher salt, some cracked black pepper, and seasonings of your choice. (We like garlic & onion powder and a little chile powder.)

Roast for about 45 minutes, stir often, until deeply golden, with some black specks. Be careful to stay just on this side of burnt.


Serve warm or cooled. We eat them like nuts as a snack, or sprinkle over salads for a protein kick.
To make a quick and delicious salad dressing, mix or shake together 1 part olive oil with 2 parts balsamic vinegar or lemon juice. Add salt and pepper, and/or FINELY minced garlic and dried basil.  


***Disclaimer- I am a BzzAgent. I was sent a bottle of Filippo Bario to review and and "Bzz" about. All opinions are my own, and I was not told what to say about it or what to do with it.***

Thursday, April 19, 2012

Putting in Our Dream Wine Cellar

Guest post written by Grant Douglas

There have been so many times that I've been looking through some wine enthusiast website and see where people have some wine cellars built into their homes. We have a basement, but I didn't know the first thing about how to make it into a wine cellar, so I decided to do the homework for it.

I had a lot of research to luck up for it and while I was doing that I saw some stuff on seras window replacement and realized that it would really help to probably get our windows replaced in our basement. So I think that I'm going to have that done as part of the conversion.

There are some other things that we need to do to our basement to make it appropriate for a space for a wine cellar, but we're going full speed ahead and I'm pretty excited about how it's going to be so nice to go down into the basement and select a nice bottle of wine from our wine cellar. It really is something to get excited about!

Tuesday, March 13, 2012

Wine Shopping Made Easy

(Click to enlarge)


Spring is here! And warmer weather is just around the corner, and with it more social and family activities. Barbecues, reunions, even Easter dinner, Spring time is a great time to share the gift of wine. Wine.com makes it easy to shop for wines by price, by rating, style, or even occasion. They also have a variety of wine clubs to choose from if you want to be adventurous and try a couple new wines a month. Can't make an event? Send a bottle of wine or a gift basket in your place. The recipient will be touched you thought of them.


Tuesday, November 22, 2011

Daughter moves to "big city"

Guest post written by my buddy Aldo Mays
My daughter is moving into the big city. Well, the South’s big city. Being from the rural part of Georgia, Atlanta feels like the biggest city in the world. Obviously there are a lot of bigger cities, but this is the biggest one close to my family. I am surprised she wanted to move there. In the country, there is always a feeling of peace and I have never felt in danger. The city seems like a completely different feel. I am worried about my daughter’s Atlanta Home Security. I worry about her house getting broken into or her coming home and someone being in the house. I am not a fan of this move and I am losing sleep over it. My little girl means the world to me and even though she is a grown adult and can make her own decisions, she will always be my little girl. I have always been there to protect her and now I am far away and helpless. I just wish she would not move there and I just wish she would stay close to home.