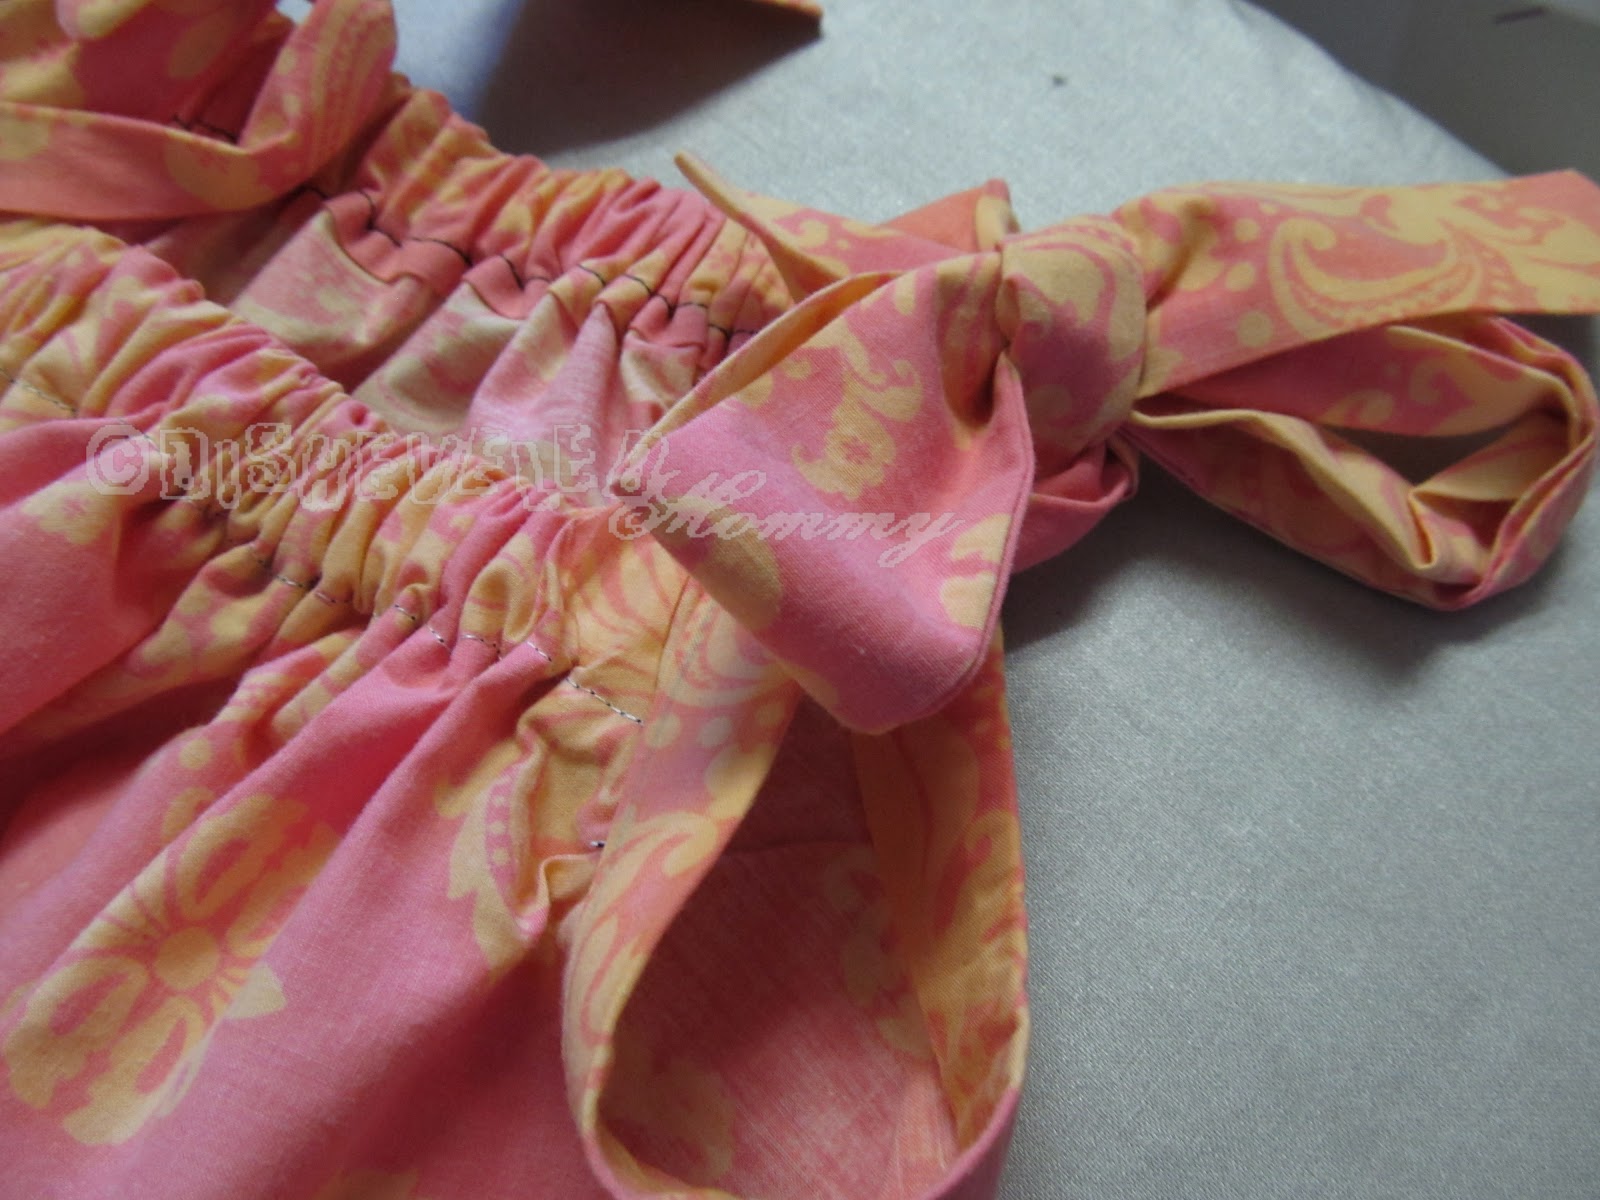
There are probably 1001 ways to make pillowcase dresses, and everyone has their favorite. This is the way I make mine for several reasons:
- -I like the way it looks.
- -Sometimes I don't have matching ribbon or want the straps to be from the same fabric- this is adaptable for it.
- -I can also use bias tape for the straps.
- -The straps can be tied to fit a growing child, you're not limited to the size it's first made like the dresses that use the ribbon to gather AND become straps. (I always worry about those getting tangled around the neck as well.) So it can be worn for many years- even as a shirt much later!
(click any pic to see larger)
First, find a spiffy pillowcase. I also use rectangles of fabric that I like. Measure how long you'll want the dress, and mark. Here's a tip for active little ones- also have them bend over when you're holding the pillowcase up to them so check length. Check and be SURE the finished dress will cover little panties! Adjust as needed. I chopped off quite a bit of this case for my four-year-old.
Now, turn inside-out and fold in half. I like to do it inside-out so I can mark my line with whatever I can find. ;-) Make a mark TWO inches from the edge. (NOT the folded edge, the one where both sides meet.) Make one FOUR inches down. Connect these marks with a J-shaped line. Cut out. This arm-hole size will fit any size because you'll adjust with the ties/straps.
Now, we'll start to iron and hem up that top. Fold down one of the layers about 1/4 inch. Press.
Fold down about an inch (you can get away with a little less if using thinner elastic, but I like how an inch looks.) Press again.
Repeat for the other side.
Now that you have nice and tidy edges, sew the top to hold the elastic. Use the left side of your foot to keep it lined up.
This'll keep your line neat and straight. Don't forget to back-stitch a couple stitches in the beginning and the end to keep your work from coming undone. Don't mind the excess on the edges, they'll be covered in just a bit.
(Let's also pretend like I used dark thread to show you the stitching...I actually ran out of everything else and wanted to finish the project!)
Next, insert and sew in some elastic (3/4 inch seems just perfect) using
this method here. Six to seven inches will work fine. Just enough to make that gathered top, and cover chests. No worries if your securely attaching is a little messy, it will be covered up.
Now- here is where you will adapt from my basic way if using thinner ribbon for ties that will need to be threaded into the arms. (My other ways finish the arm-hole edges without hemming them.) You'll want to turn in, and press a half-inch hem. Fold down about a quarter inch on the ends so they will get tucked in as you sew it into a casing. Sew each arm so that it become a tube (attached to the dress) with two open ends. Then you thread the ribbons in, about a yard each, fray-check the edges and you're done.
Using bias tape is about the same as making straps from the case's fabric, with the exception of sewing the straps together.Here is how I make my straps:
Take the extra bit you cut off, cut off one of the side (short end) seams (often there is only one!) and the top seam. Cut in half lengthwise.
Fold lengthwise, and sew into a loooooong tube. Leave one end open for turning right-side out. I like to taper my ends like so:
I back-stitch when I turn a corner for a little extra insurance. Then I trim a bit before I turn right-side out.
You can either sew shut the open end after turning, or use a bit of stitch-witchery.
Attaching the straps is made MUCH easier if you crease/press the middle of the straps the length of the arm-holes in half. Line up the center of the strap with the center seam of the arms, folding over the rough edge of them. This is also how you'd attach bias tape straps! Sew them from top edge to top edge, and voila! (Here I used some stitch-witchery too, my thread was TOO dark for these nice finished edges, but I may go back and stitch them up as well.)
I LOVE the way the fabric straps/ties look.